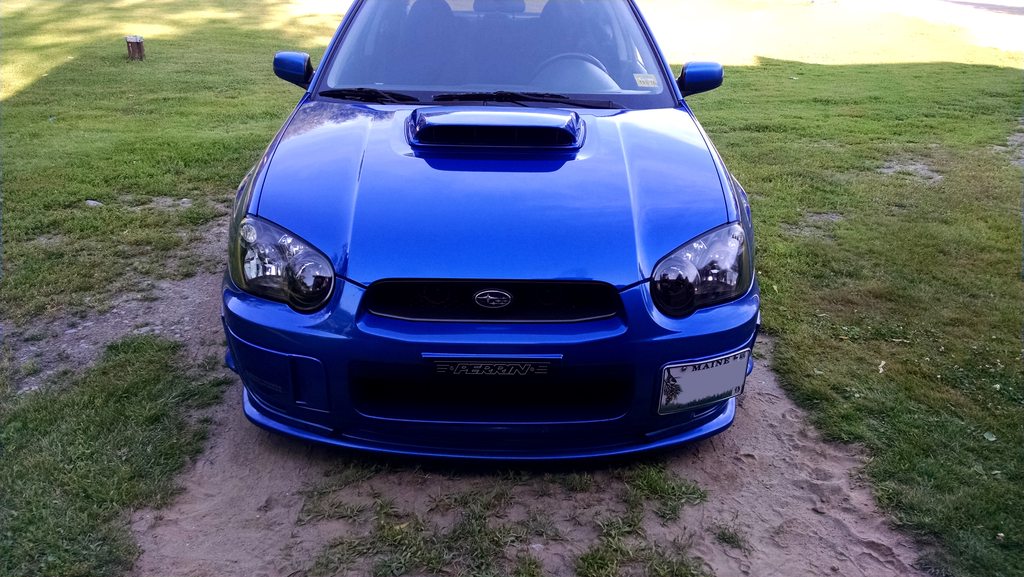
Marino's WRB 2005 WRX!

Marino

I <3 BOOST
update yo!

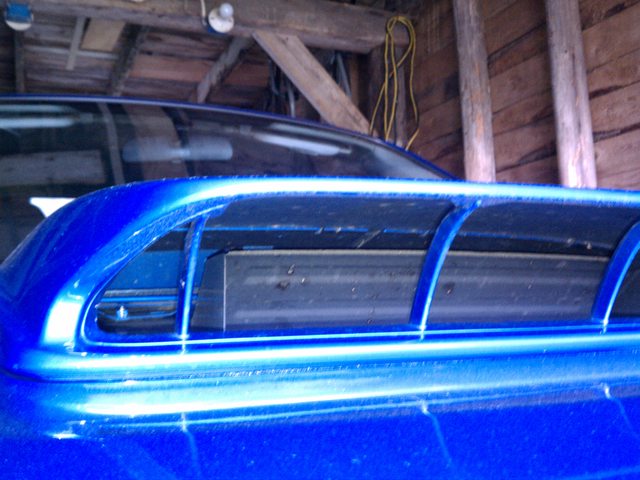
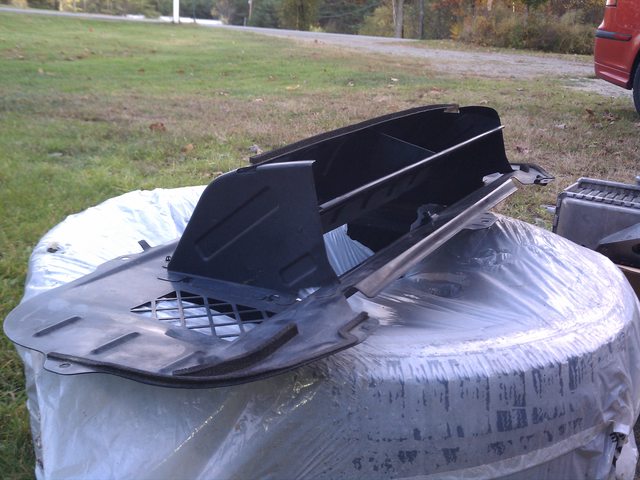
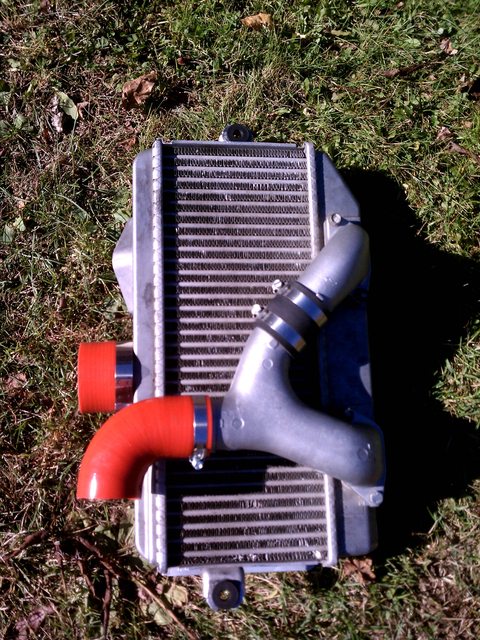
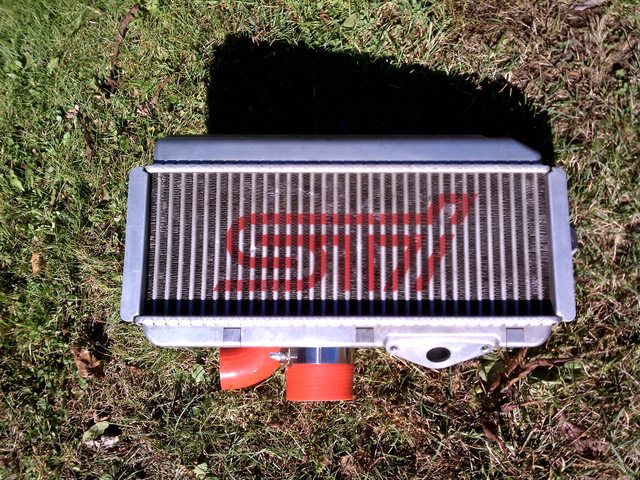
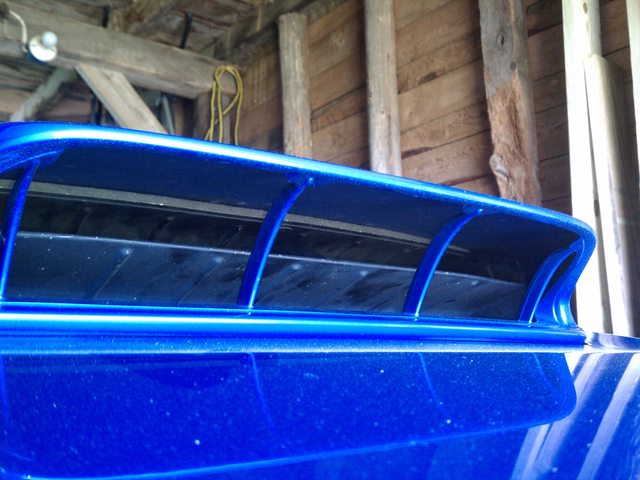
So the last few weeks I have been slowly gathering parts needed to install my STi TMIC. I picked up an almost new Y-pipe off an 04 STi, as well as the STi air splitter/duct
 
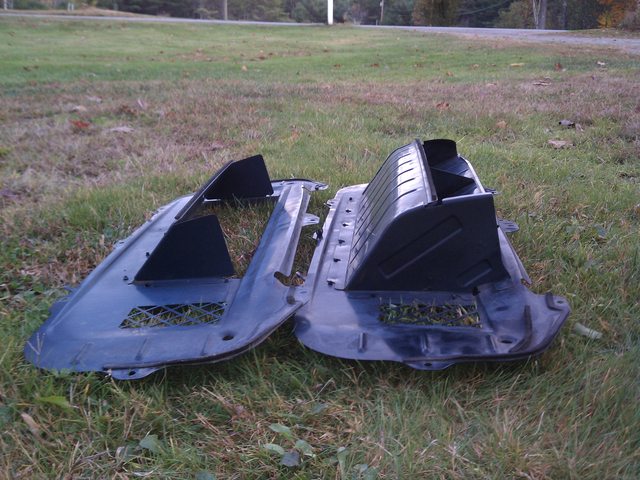
Because the 04/05 STi scoop is so massive, there was a huge difference in size between the stock WRX splitter and the STi one. Heres some comparison shots...
 
Stock (tons of wasted air
default_additional_sillylol.gif
)

vpa0Lepl.jpg

 
STi now fully utilizing the huge hood scoop:
5oXQmCJl.jpg


qzejybXl.jpg

 
mfUPp6Fl.jpg

 
I did run into an issue with the universal 90 degree silicone hose I ordered on RSD. Ended up being way too short on both sides. I wrestled with it for a while but gave up because it was just too short and wasn't lining up right. Had to jump online and order a new hose. Got a red one this time which I wanted in the first place
default_additional_sillylol.gif


RMH6oTIl.jpg

 
U0LFeLWl.jpg


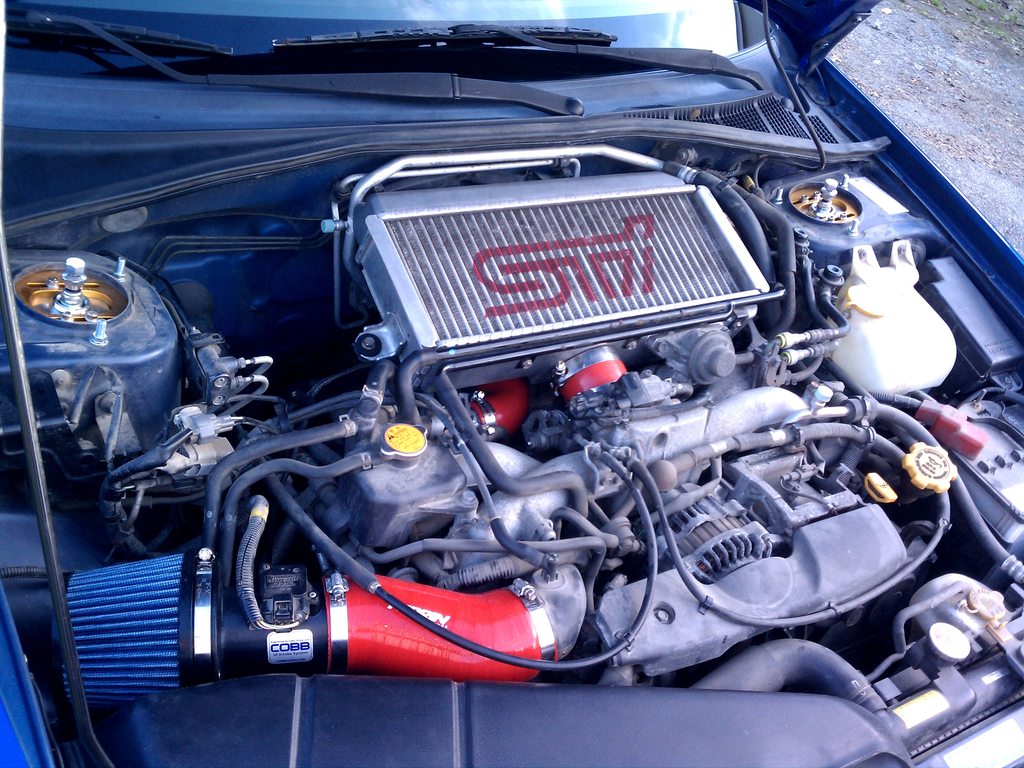
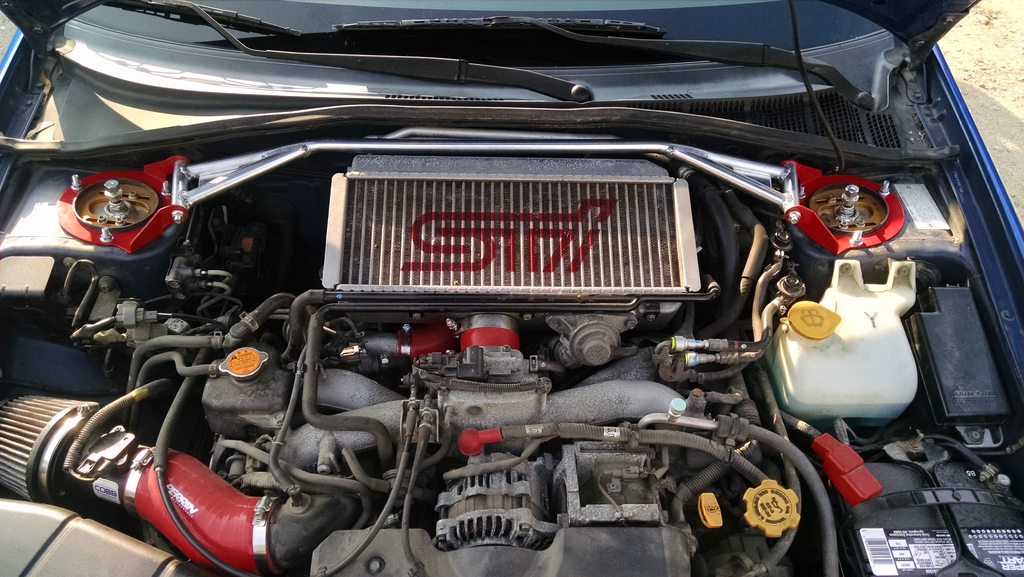
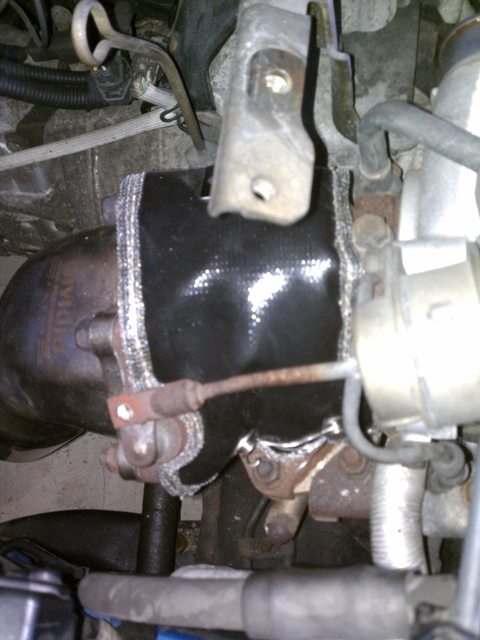
One of the things I have been wanting to do as well was try and get rid of some heat soak in the engine bay. So I picked up a PTP turbo blanket off Rally Sport Direct. Fairly inexpensive, and a very easy install... figured I might as well do it while the IC was off. Originally when I had my uppipe installed, I never heat wrapped it. Neither was my downpipe wrapped. And on top of that I scrapped my original heat shield, so there was major heat soak in the engine bay. Took it for a few pulls today while I was making sure everything was nice and tight and when I got back to my house the TMIC was ice cold to the touch. I definitely recommend this mod. I'm also going to look into getting an additional heat shield soon.
 
Nice and snug, perfect fit
5OmyzIBl.jpg

 
All together (don't mind the filthy engine bay
default_additional_sillylol.gif
)

8Ln5AFTh.jpg


I also have a front and rear strut bar on the way and should be in this week. Days of driving her are getting numbered
default_frown.gif

 
Last edited by a moderator:
Marino

I <3 BOOST
I was going to wait and post this when I had everything painted and all together but I couldn't wait
default_additional_sillylol.gif


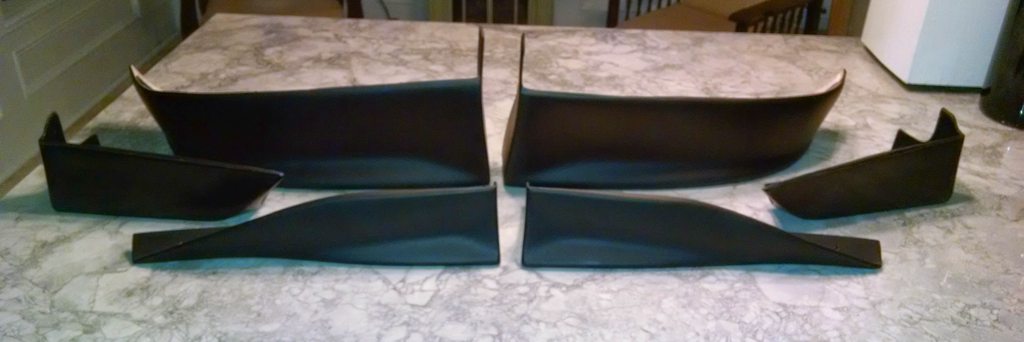
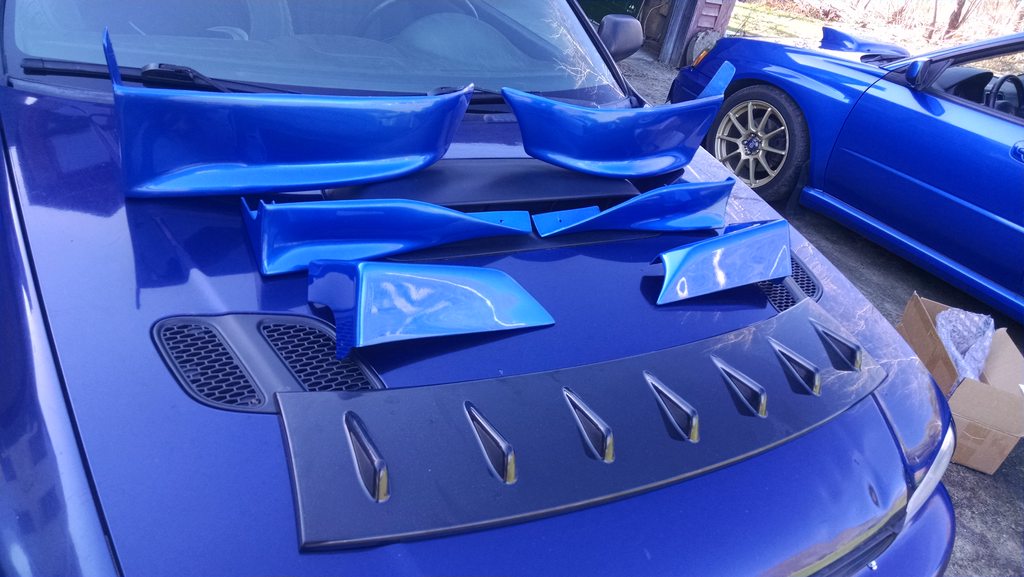
Stockpiling a few things here and there for when the car comes out of hibernation. This is what I got, still needs to be painted of course

RpgNBPDh.jpg


Aero Guards, Rear Strakes, and rear bumper aprons/spats

I have been eyeing these and wanting them for the longest time. Initially I was looking for more aggressive body kits/skirts but honestly so many of them are way too obnoxious and big. These little pieces are nice and subtle, and flow very well with the rest of the car. Here is a picture of how they all look together

4SFRJi4.jpg


I will also be getting the 06/07 STi roof vane spoiler and get that painted at the same time. Another thing I am considering is the 05-07 STi rear fender flares. Only thing is I don't have the accompanying bumper that flows with the flare so I am not totally sure on that. We'll see.

Another thing I got is a complete interior LED kit off a guy on Facebook. Should be a nice touch. I already have the LED license plate lights and love how those look

That's it for now
default_additional_sillylol.gif


Last edited by a moderator:
Marino

I <3 BOOST
SOOOOOOO! 

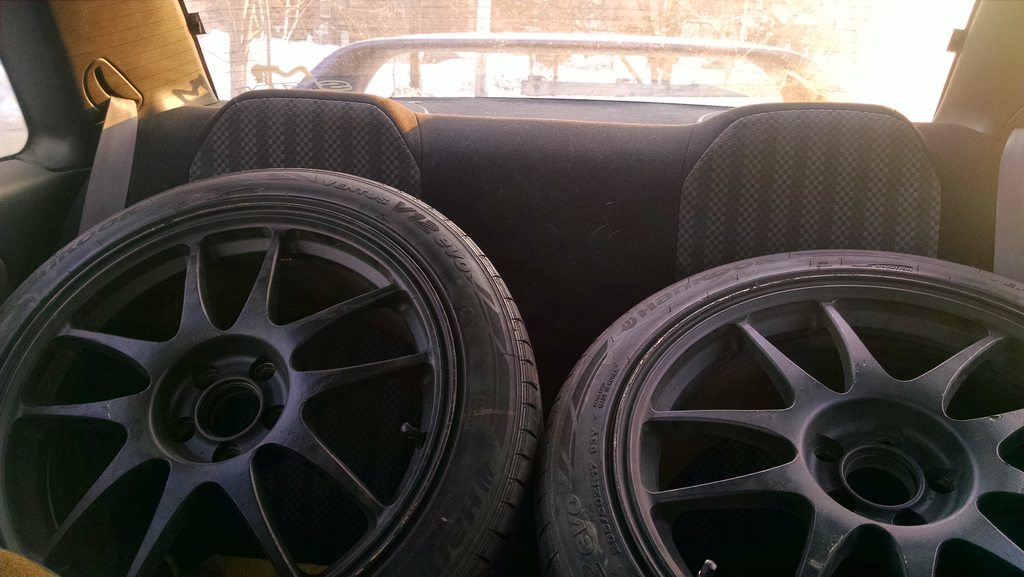
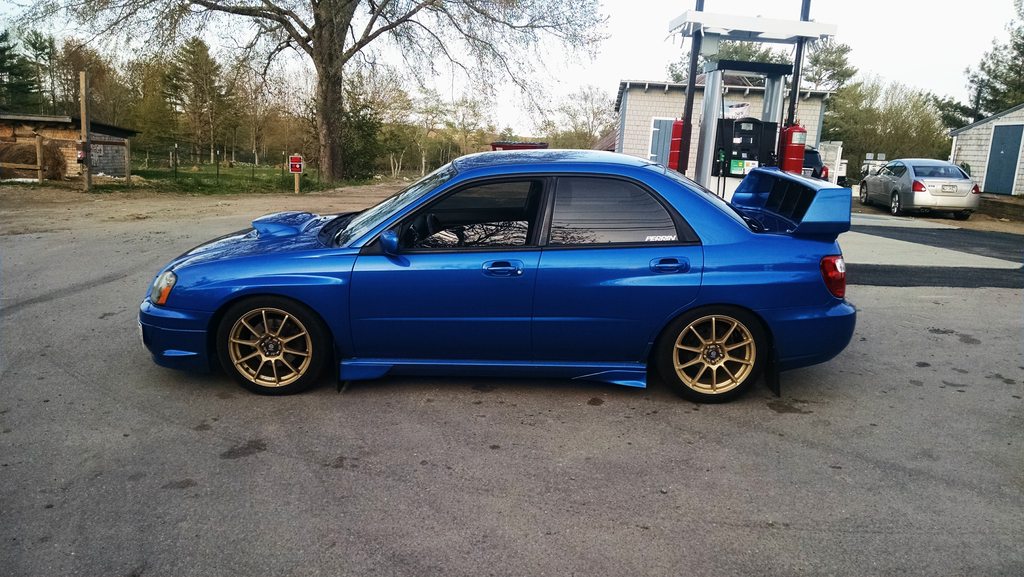
Couple things here and there. First off, over the winter I picked up another set of wheels off Matt. 17x8 Rota Torques. Only thing is that one tire is worn pretty bad so I'm thinking I'll have to get some tires before I put them on the car. No rush though, they were cheap enough and I was just looking for a change of looks

nd2rqCYh.jpg


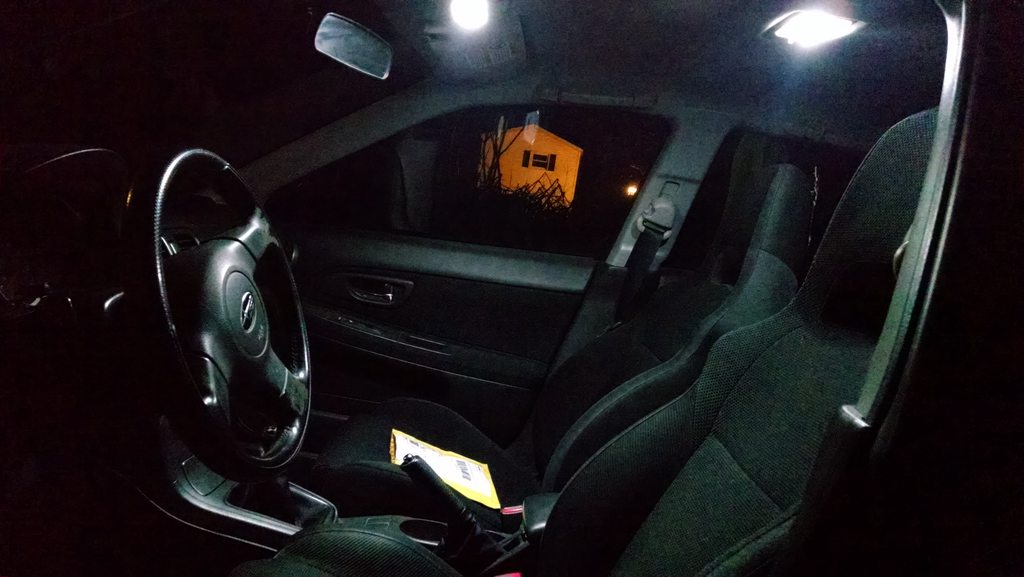
I also got some LED lighting. Again, cheap/easy and it looks great. I now have LED license plate, full interior, and trunk lights

Zm23QMjh.jpg


Much cleaner.

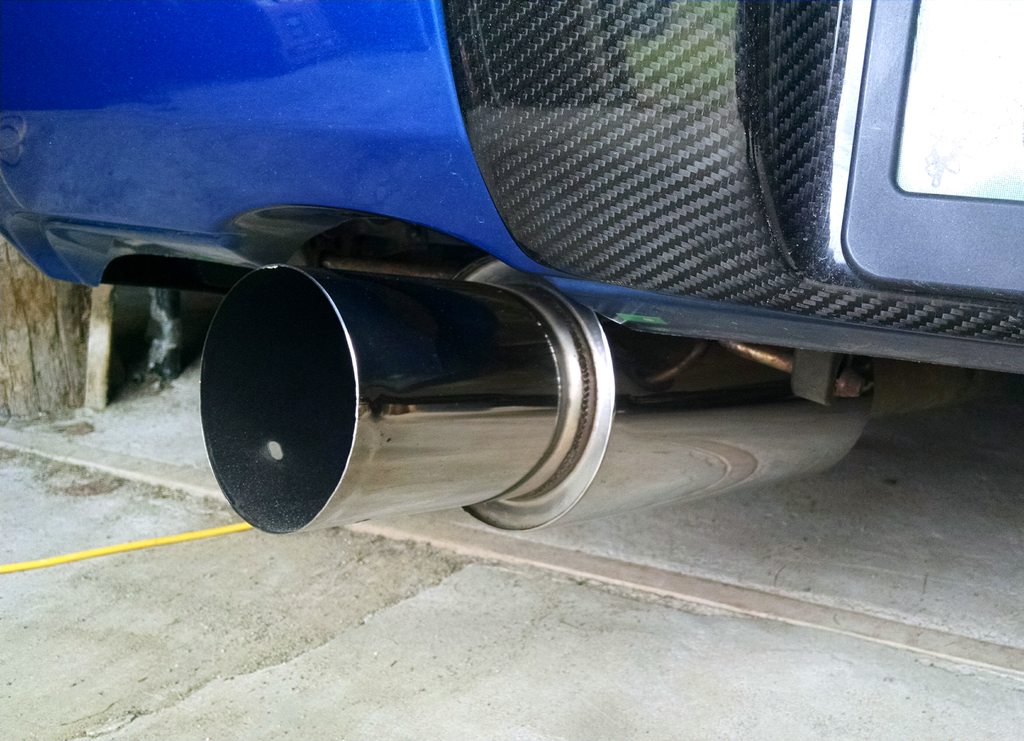
Polished the exhaust for the fun of it. mmmm carbon fiber

QSKFocih.jpg


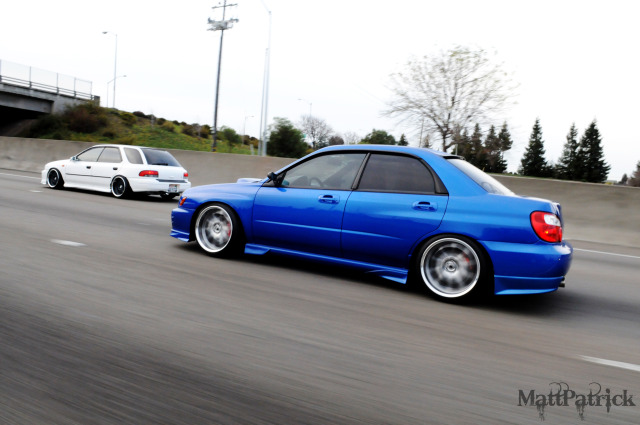
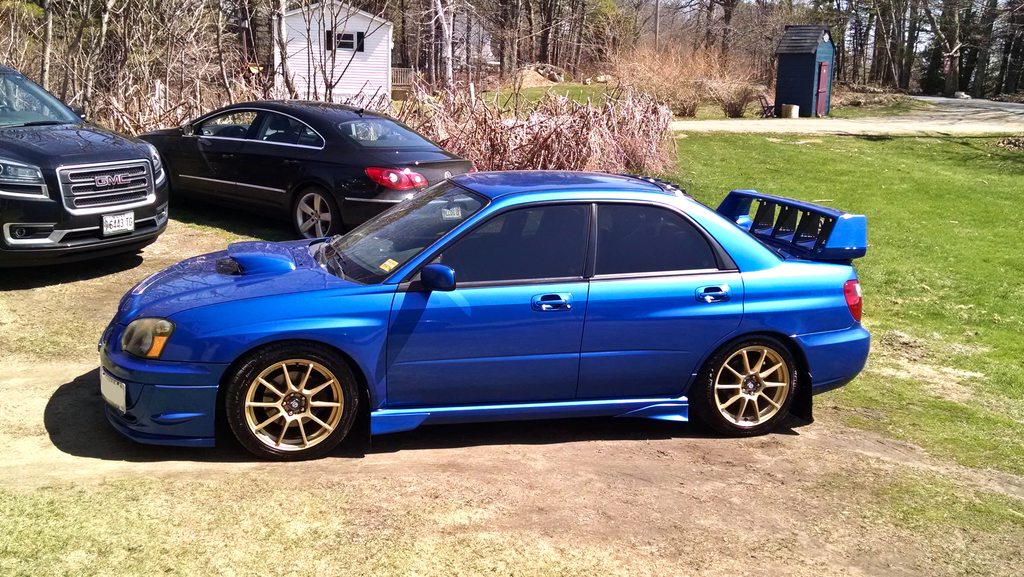
Now the best part. I had gotten some JDM yo! Aero Guards, Strakes, and rear bumper Aprons over the winter. Got em painted this week. 

thapwdlh.jpg


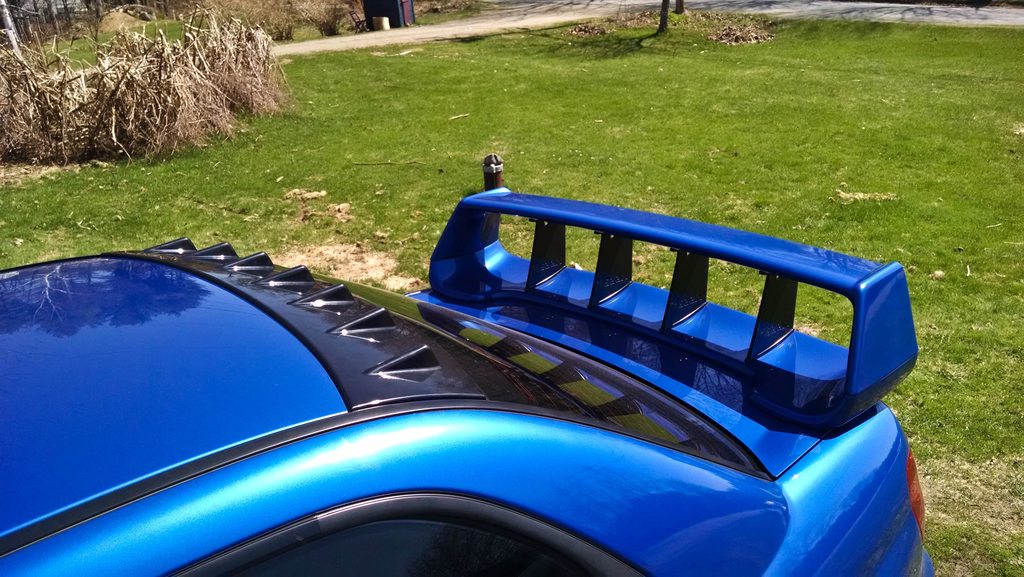
Oh, also got a vortex generator too. Decided against the STi roof vane. I loved the look but wanted to be a little different and the V.G. was cheaper, didn't need paint, and looked as good IMO. So this weekend I installed everything except for the rear aprons. Those will have to wait because I still need to pick up some hardware for them. And making them work with my mudflaps
default_additional_sillylol.gif


Here are some pictures.......

oeHAd0vh.jpg


Y2722UVh.jpg


gIeif4Ch.jpg


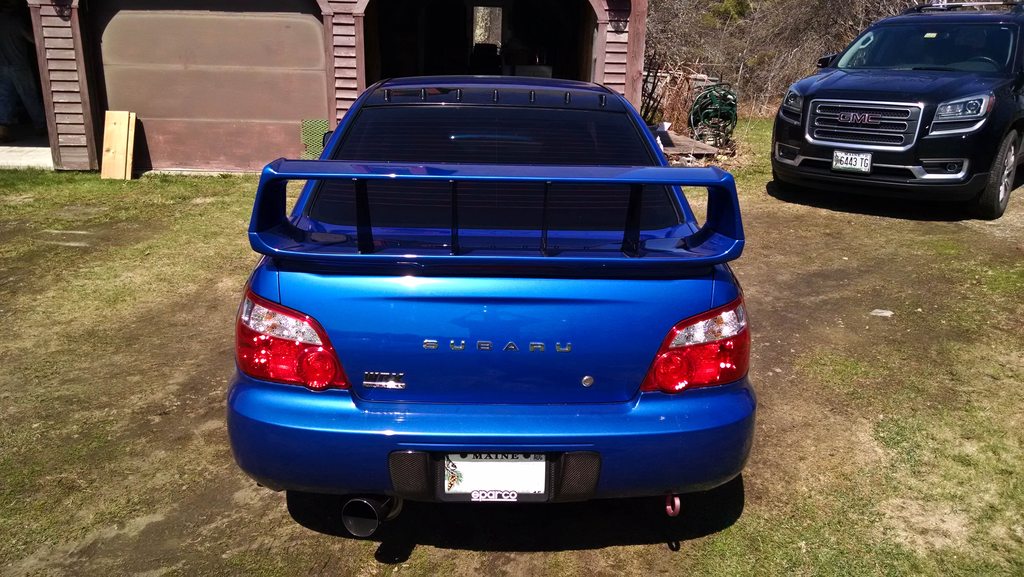
Rear aprons will look great from the back once they are installed.

That's it for now. I think I have almost built up the courage to tackle painting my headlights. They need attention bad. But yeah, it's coming along. 

 
Last edited by a moderator:
Marino

I <3 BOOST
Vortex generator didn't stay on
default_additional_sillylol.gif
Need to get actual 3m tape for it

Still haven't done the aprons yet but, for a change of looks I took the front lip off and popped the fog light bezel in. Dropped the front  ~half an inch

wFHUGbch.jpg


NZdw9FGh.jpg


Definitely like the other look with fog cover and lip better, but this is cool for now. I just have no clearance with the lip being lowered.

Thinking of plasti dipping my wheels also. Possibly white or black 
default_additional_iam.gif
 
default_confused.gif


Marino

I <3 BOOST
Rear aprons aren't on yet as I have a little something special coming in soon
default_banana.gif


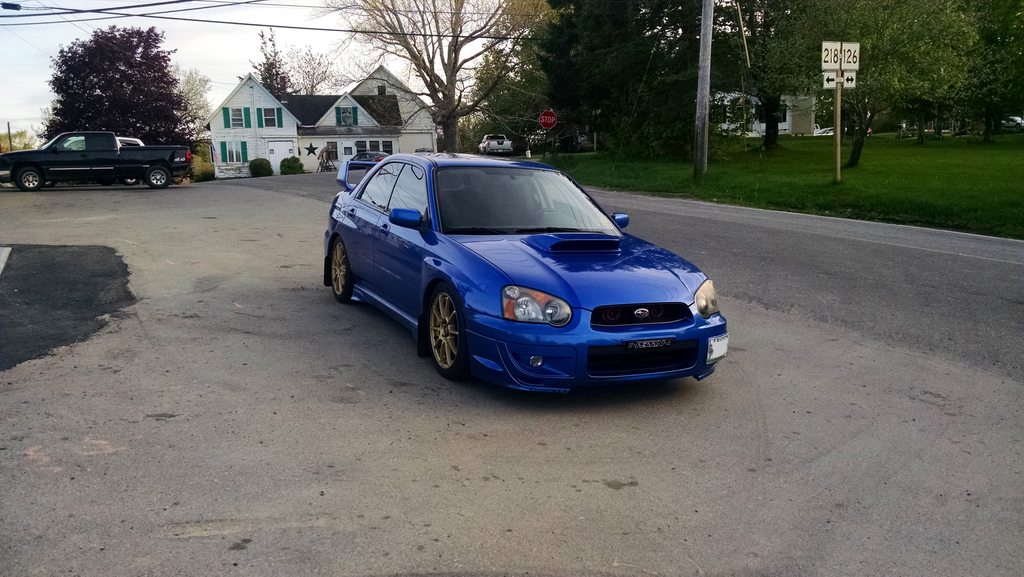
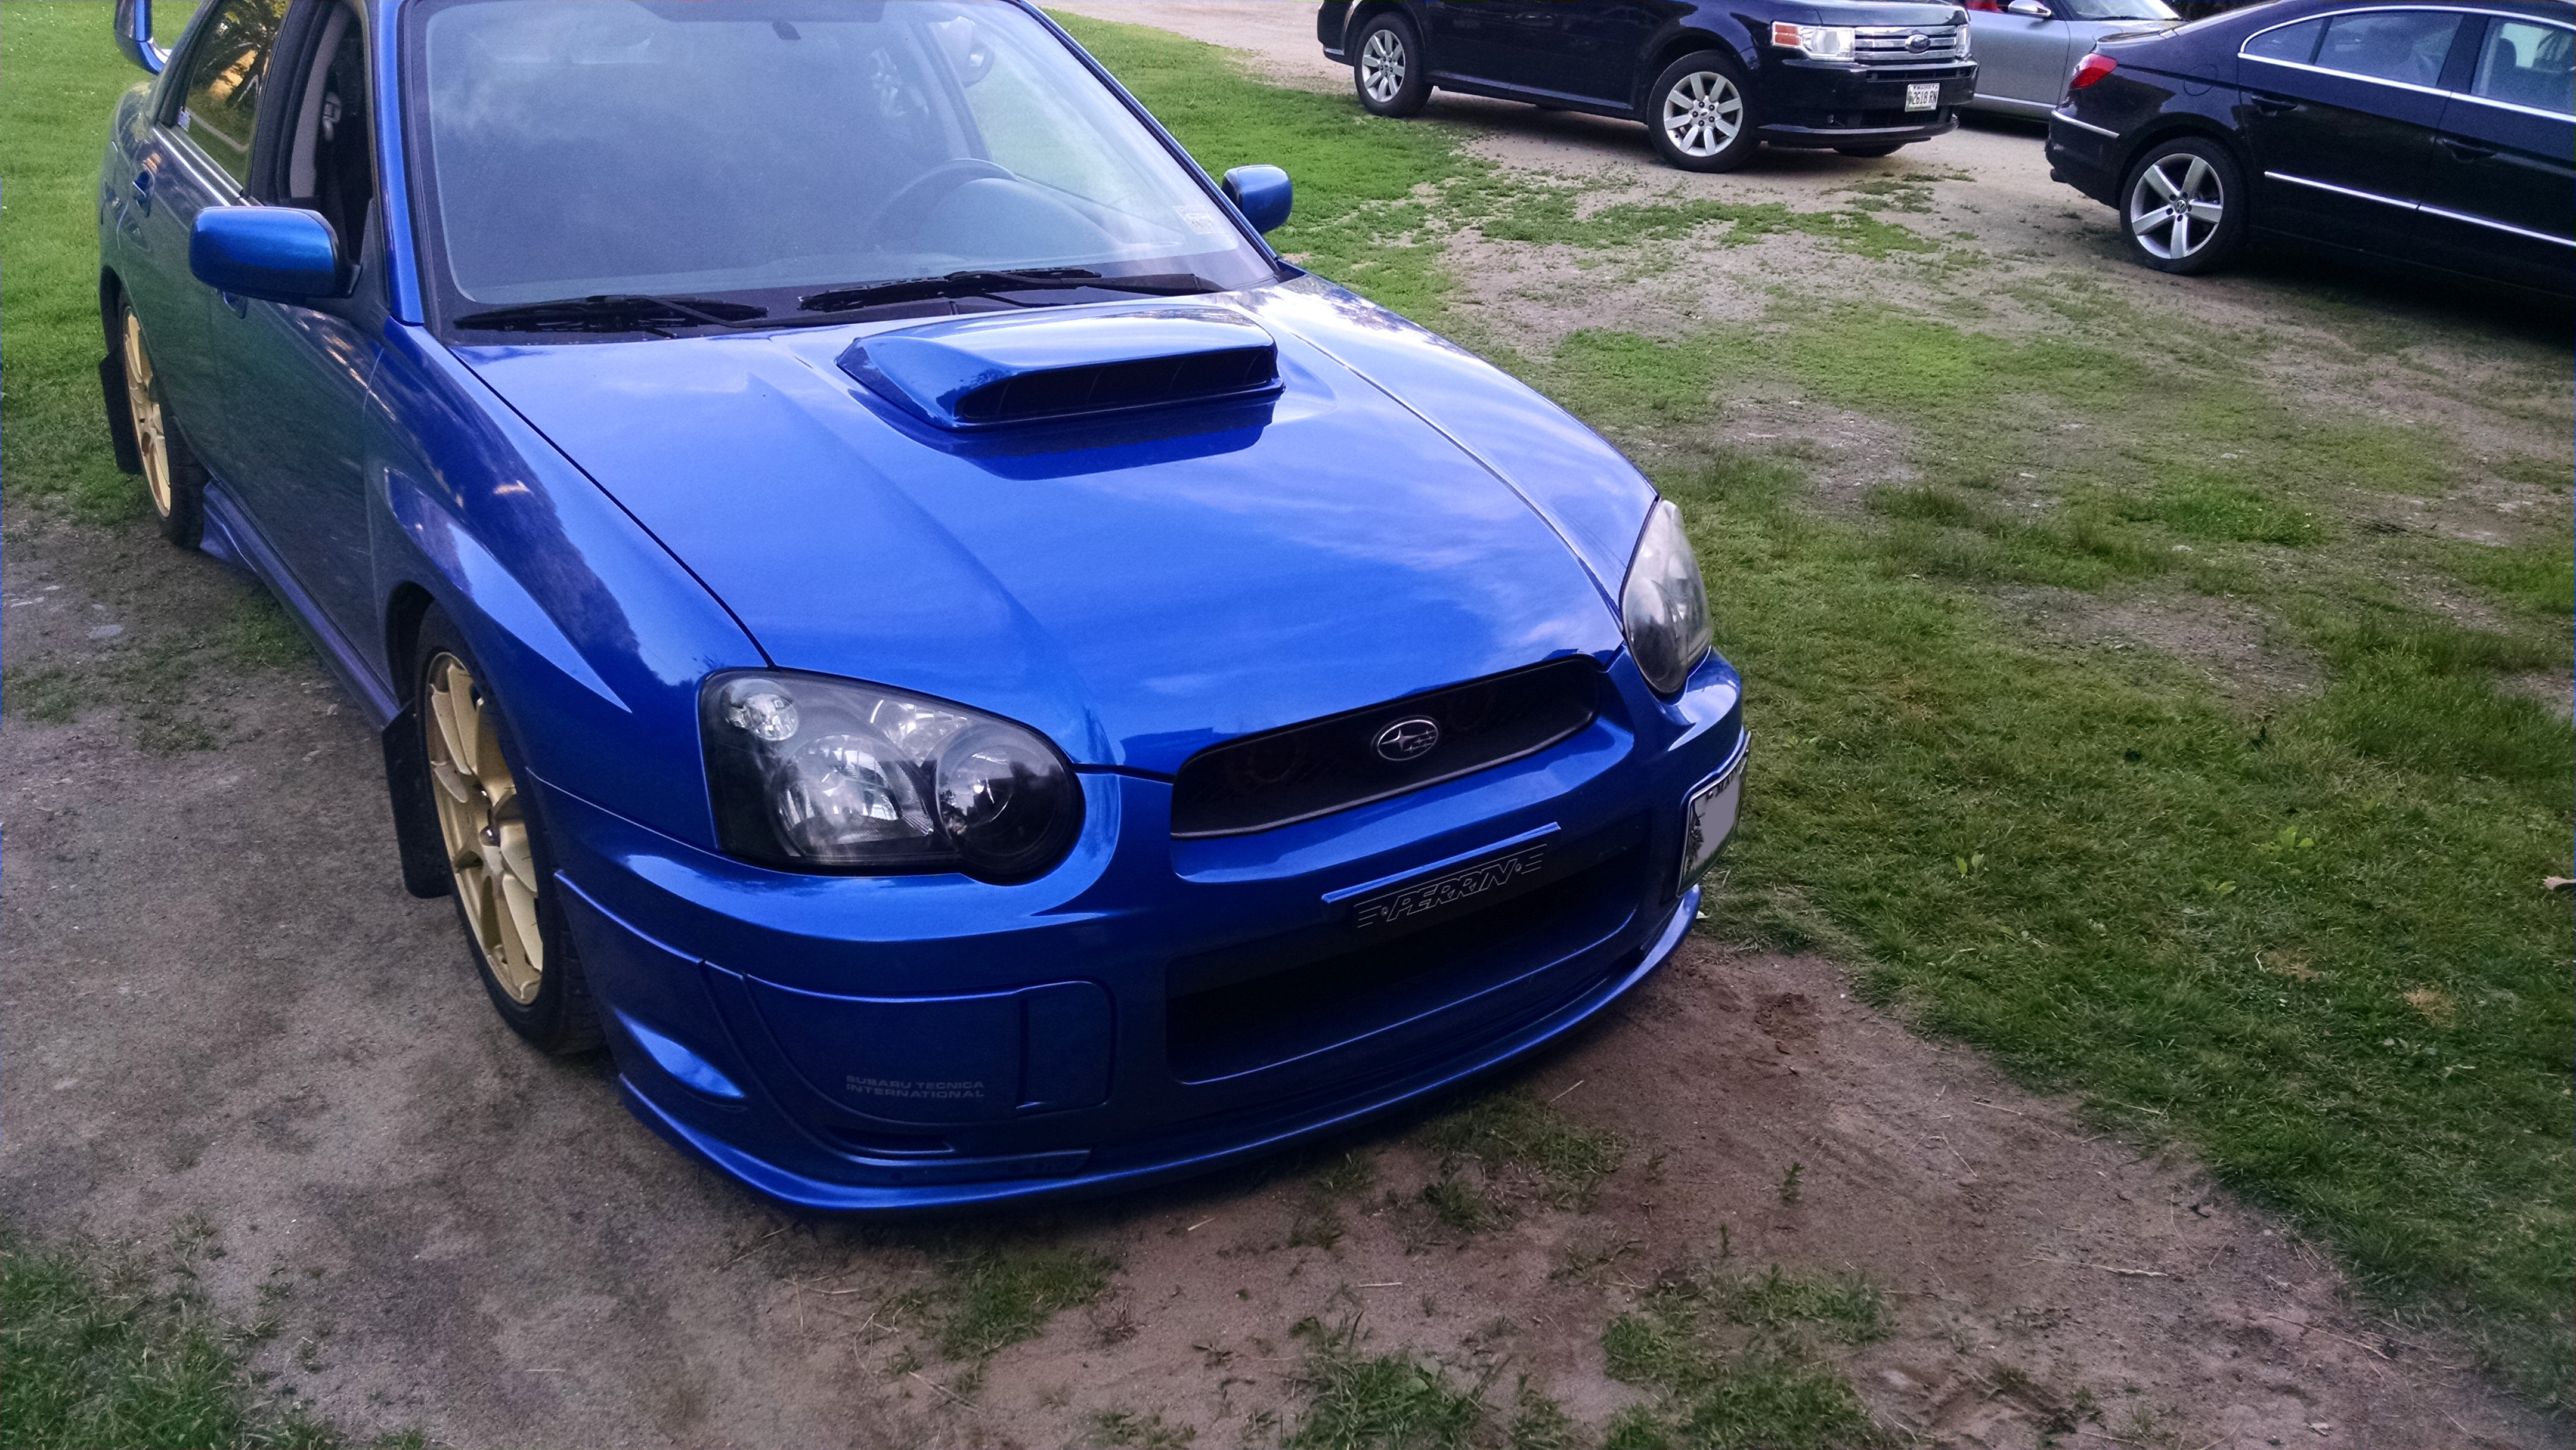
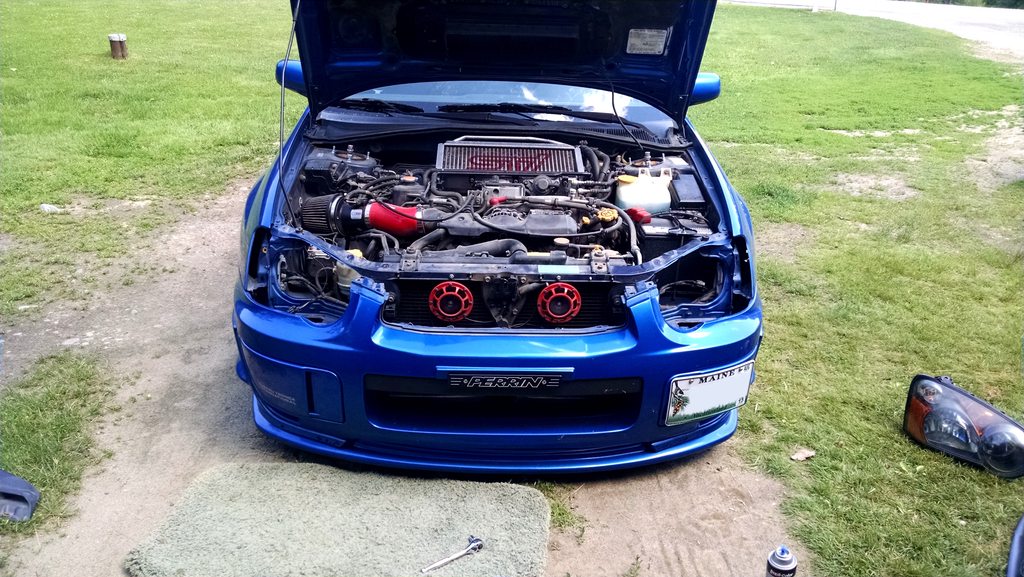
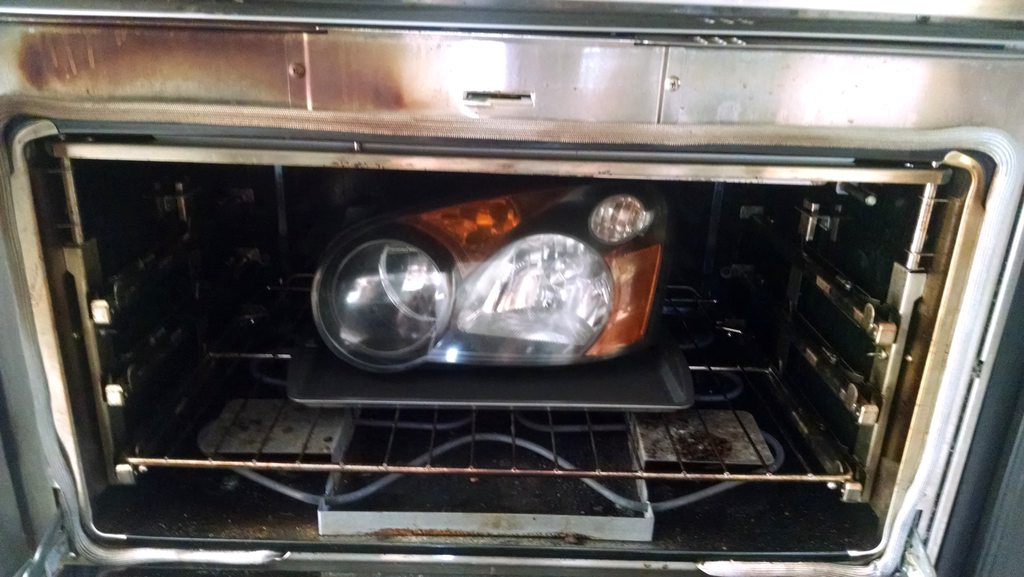
Today I finally tackled my headlights. Took 3 years to get the courage... But it was a good afternoon project. I don't know why I've waited so long to do them because it was indeed very easy. All in all it went very smooth, however, ..............I did crack one of the bezels pretty badly trying to force out that little circular clear piece in the upper corner. Wouldn't budge and I was a bit inpatient. Felt pretty bad about that. Looking back at it I should have just taped over it and painted like I've seen in some pictures but oh well, it's really only noticeable if your directly in front of it, looking for it.

I went with a semi gloss black. I still need to buff and polish the headlights to really give it a finished. Anyways, couple pictures here cuz I like to document things.

Looks cool without headlights
default_banana.gif


mWTRytgh.jpg


At this point I was really scared, not going to lie
default_additional_sillylol.gif
But, not turning back now!

4AYMqgXh.jpg


Don't have any pics of the painting process or side by side comparisons, but here is the final outcome. VERY happy how it turned out despite cracking the bezel, stupid circular piece. Can't stop looking at it

J6qHCWg.jpg


Oh yeah, lip went back on a day later. Like it much better. Some pretty gnarly scrapes followed but that's the price of being lowered. 

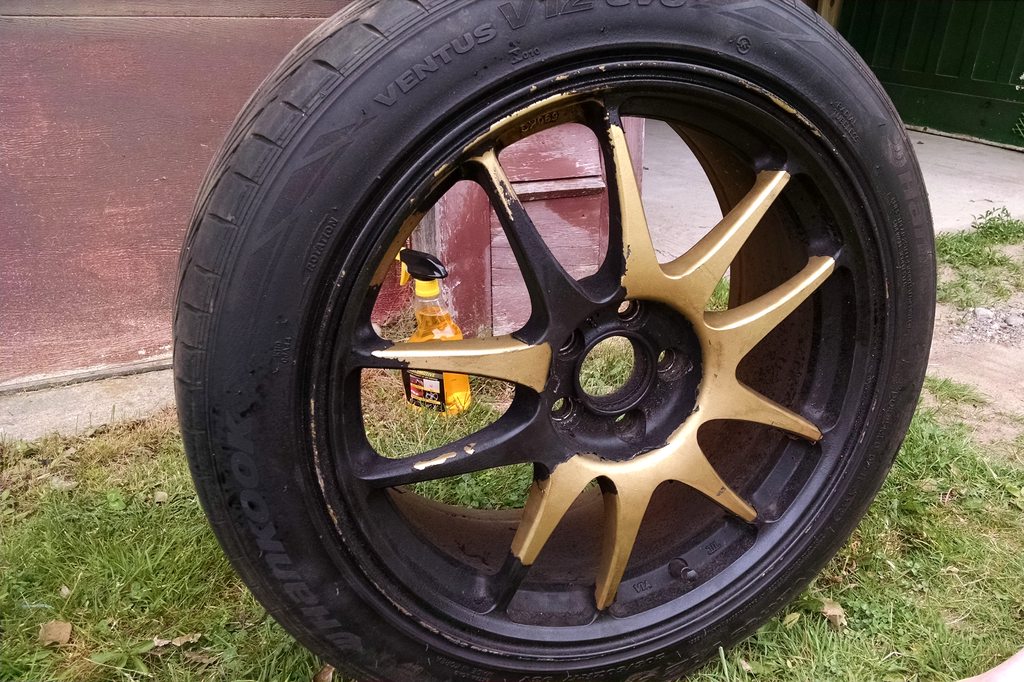
Also, a side project I'm going to be working on is re-doing my other set of wheels which I still don't really have a plan for lol; These are the Rota Torques I picked up from Matt. Un-peeling the plasti-dip is a pain. Comes off in small sections, goo-gone works ok but still a hassle. Once I get all the dip off I think I'm going to try that aircraft stipper. Pretty nasty stuff from what I've seen but it would eat through all the layers on these wheels to bare so I can start fresh and re-spray the gold which I really like. Anyone use that Aircraft Stripper stuff before?

L2XoOtnh.jpg


Anyways, that's enough for now. Keep on the lookout, .... next update should be good.
default_banana.gif


Protect the tires really well if you don't have the taken off first. The one time I used aircraft stripper I saw the effects it has on them, luckily they were junk tires.


SUBARUDE

Well-known member
And I would strip the gold if your repainting them gold cause if you chip one later down the road that gold will show through instead of silver or gray so it won't be as noticeable


Marino

I <3 BOOST
Brake clean and a pressure washer will make it much easier on the wheels
Thanks for the tip, I wish I had a pressure washer... Just have one more wheel to go now, I'm down to about 45-60 mins a wheel
default_additional_sillylol.gif


Protect the tires really well if you don't have the taken off first. The one time I used aircraft stripper I saw the effects it has on them, luckily they were junk tires.
Yeah I'm planning on removing them before I go at it. Saw some videos on Youtube... wouldn't want to get any of that stuff on my skin
default_additional_sillylol.gif


jojo69

New member
Have always used aircraft stripper to do rims. Where some hand protections and glasses just in case and an old brush to help get the paint layers off in tight spots, other than that, works well. And yeah, don't drink that stuff or inhale for too long
default_wink.png
I probably killed a few brain cells in the past

Sent from my Nexus 6 using Tapatalk


Marino

I <3 BOOST
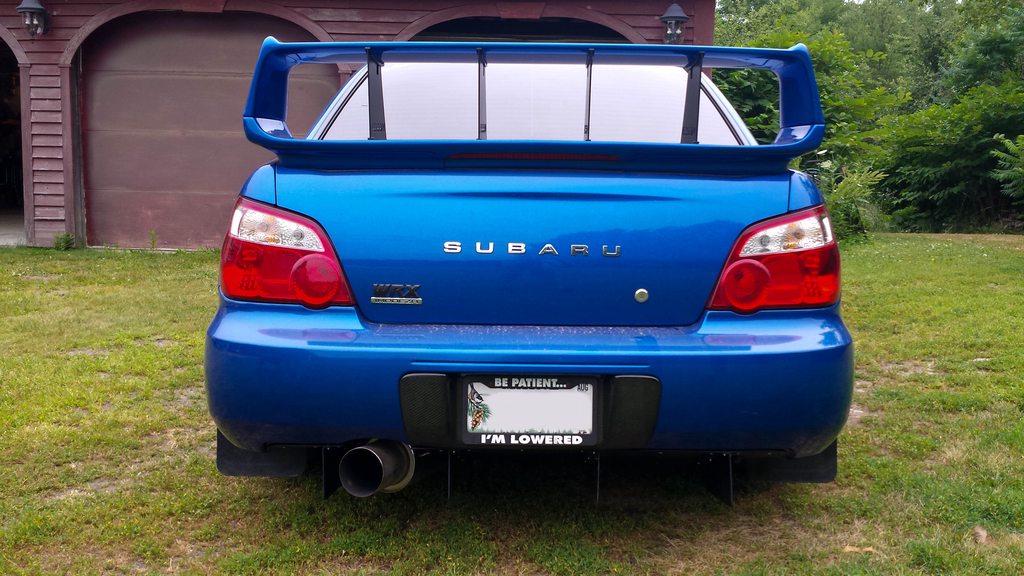
So I ordered a custom rear diffuser online back in May. It was custom made, shipped, and got it in last week at last. Finally had the time and energy to install it this afternoon. Because of the giant angled canister exhaust I had to cut it up a bit to make it fit but now it's mint. Love how it looks.

VShTZOVh.jpg


Which leads me to another thing. Those rear aprons I got awhile back, well, I wasn't too happy with the fitment. I installed them after I put the rear diffuser on and it looked amazing from a distance, but there was a little gap on the end that I couldn't live with so I ripped them off. Too bad but maybe I'll mess with them another time.

Anywho, $30 ebay strut bar FTW

P4nxepXh.jpg


I also buffed my headlights. They look so much better, hopefully it'll last. Before picture you can't really tell how bad it was. Headlight blackout has turned out to be one of my favorite mods hands down

fabG3J1.jpg


7n58RRDh.jpg


That's it for now!


injulen

New member
Definitely continues to get better and better looking! That eBay strut bar does look perfect in there. The red matches the other red accents really nicely.


Latest posts

Back
Top